
Allowing young family members to use the Internet in general and MacBooks, in particular, can make children become highly exposed to content that is not appropriate for their age. There was a case where a parent caught her first-grader watching pornography online.
To somewhat prevent such dangers, Apple has a series of parental controls on mac that allow you to restrict the type of content young children see and determine how long children can use the device.
Here are 5 BEST ways to set up Mac parental controls to keep your kids safe while using macOS.
5 BEST ways to set up Mac parental controls
Use Apple parental controls
The first step is to create an account specifically for your child so that any screen time restrictions you make for your child won’t affect your own browsing or use of apps.
There are many ways to do this, one of the most common is:
- Select the Apple icon
- Select System Preferences.
- Select Users & Groups
- Add new account
Once your child’s account is set up, it’s time to enable parental controls. The approach is slightly different depending on the version of macOS you have, in this article CyberPurify will help you set up via macOS Big Sur.
For macOS Big Sur
You follow the steps below:
- System Preferences
- Select Screen time
Downtime feature
The Downtime feature allows you to set the time your MacBook is inactive. During Downtime, only certain apps you allow or phone calls will be active. This is useful if you want to restrict your kids from watching Netflix at night or just want them to not use the device at certain times.
This feature applies to all devices that are using iCloud accounts used for Screen Time.
Here is the how to do it:
- Turn this feature on
- Select the “Every Day” or “Custom” option and set the time that the MacBook will be locked.
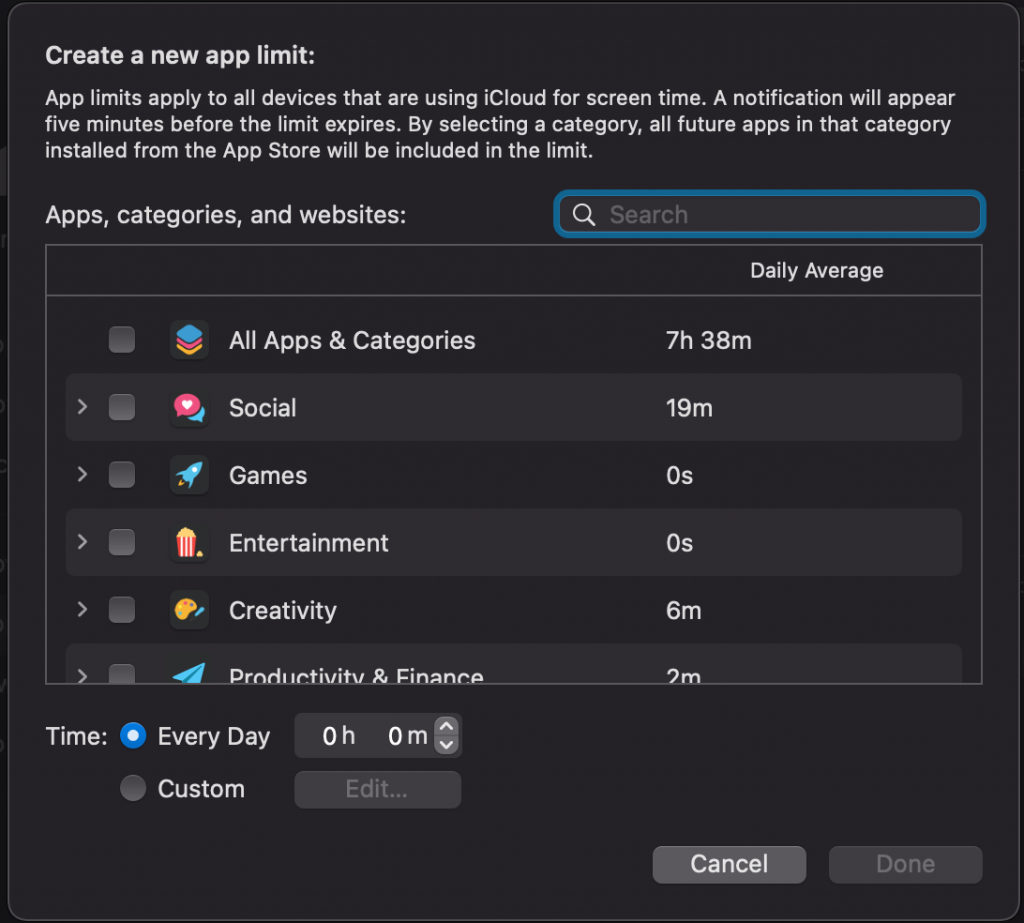
 Apps Limit

As the name says it all, this setting allows you to control the amount of time your child spends each day on certain apps or categories of apps. This feature applies to all devices with the same iCloud account used for Screen Time.
Here is the how to do it:
- Turn on the feature
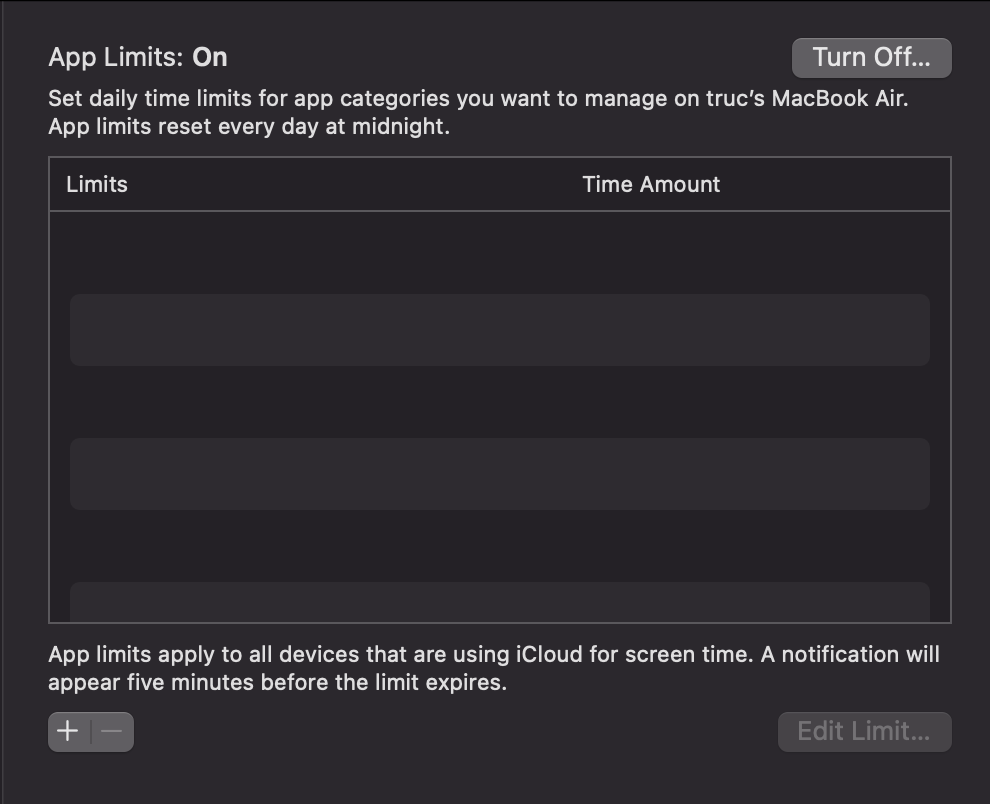
- Click the “+” icon at the bottom left of the main taskbar.
- You will now be able to select specific apps or genres and apply a daily time limit.
Always Allowed
Another simple setting that allows you to give your child access to some approved apps at all times even during Downtime.

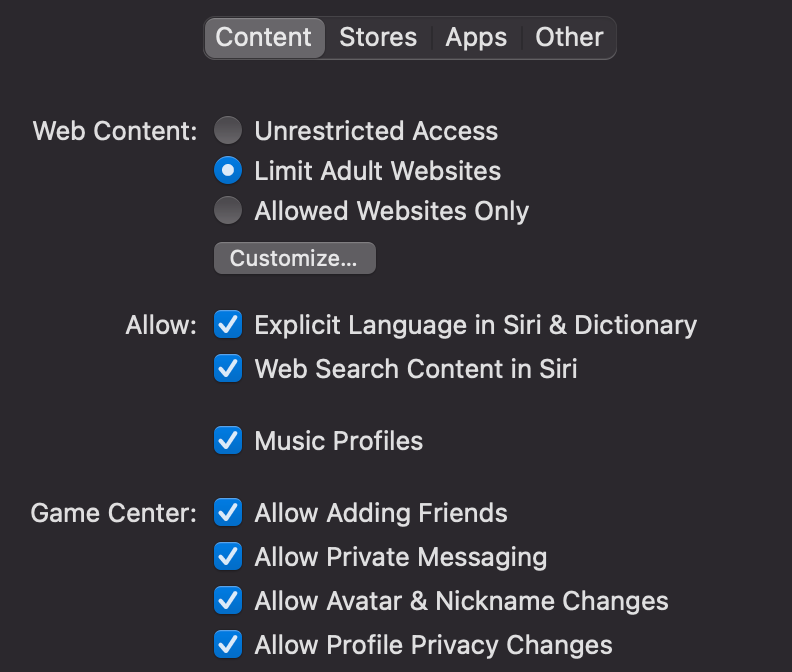
Content and Privacy Restrictions
If the previous features were more concerned with access rights and time limits, this feature Content & Privacy allows you to decide what kind of content your child will see. Various granular settings restrict adult websites and search results, lyrics and profanity in movies and music.
For Content: You can choose to limit access to adult websites or only allow your child access to certain websites that you allow.
 For stores: This feature allows you to restrict inappropriate books and musical publications from reaching your child. Besides, it also helps you control the applications in the device, limiting the child to miss payments.

For macOS Catalina
Parental controls mac macOS Catalina: choose System Preferences => Screen Time, and select your child’s account from the drop-down options in the sidebar.
Below this option, there are also several other options, including Downtime, App Limits, and Content & Privacy, which you can use to set up restrictions.
Click the “Options” button in the bottom left corner and located in the main taskbar you will see the “Screen Time” setting. Click “Enable…” to activate the feature. Now, “Screen Time” itself does not limit the use of the device; instead, it serves as the master name for parental control.
For macOS Mojave and earlier operating systems
“Screen Time” isn’t available on macOS Mojave or its predecessors, but there are built-in features to keep your kids safe. To find these, choose System Preferences > Parental Controls. If you have not set up an account for your child, you will be prompted to do so by selecting Create a new user account with parental controls > select Continue.
You may also find this helpful:
Follow the instructions on how to set up your account, once done, return to “Parental Controls”. You’ll now see the child’s new account in the sidebar, so click it and cycle through the various settings that limit what and how long your child can access the MacBook.
The options are similar to those listed above, with granular controls for the apps they can use, web content, daily time limits, and several other safety features.
Use the online content filtering tool
The parental control on Mac whose features are listed above will help your children use the Internet more safely. But of course, there’s no 100% guarantee, you also know that harmful content is so rampant on the Internet that your kids are at very high risk of getting access to these types of inappropriate content.
With the limitations of technology, there is no single tool that can completely protect your children from harmful content on the Internet.

Besides educating your kids about what is appropriate and inappropriate online content, you should consider using an online content filtering tool – considered by many parents as one of the best parental control software for mac to hide 15 types of harmful content on the Internet, including:
- Pornography
- Horrifying content like gore, accidents, ghosts, violence, murder, terrorism, etc
- Content about stimulants, addictive substances such as alcohol, beer, marijuana, drugs, etc
- Content with aggressive elements, hurting others like Hate speech
This free porn blocker extension can help to minimize your child’s access to harmful content, ensuring a healthy online environment for your child but at the same time, not invading their privacy rights.
Here is how to do it on MacBook:
- Open Safari browser
- Select Safari in the upper left corner of the screen
- Select Safari Extensions
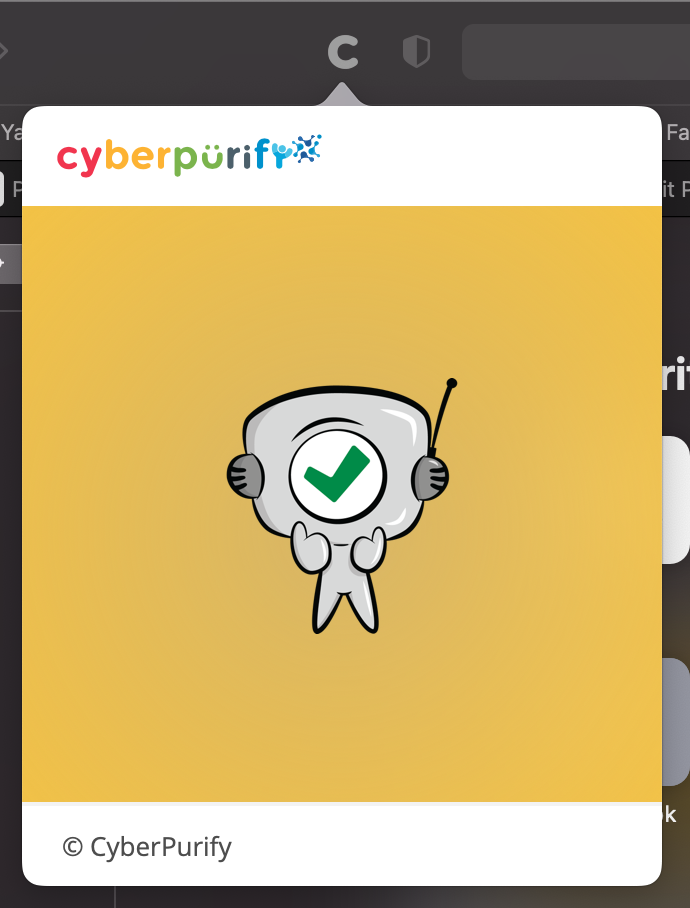
- Click on the search box, type CyberPurify
- Select Install. Then voilà! Your device will then be automatically protected from 15 types of harmful content on the Internet.

6. After downloading, you can select the C icon on the left of the web address bar to check how much harmful content the extension has helped you block.
Wise modern parents are always proactive in bringing the best for their children. To better protect your child from all porn sites, for all internet-connected devices your child use, you should pre-order Wifi Device, becoming the first parents to own the solution which 24/7 protects your kids from harmful websites. Best prices are always available for early birds!
We hope that parents will protect children better and more effectively online!
Try and you might love this:


")
")


")

